07/06/2026 06:44น.
EP.52 การเพิ่มฟีเจอร์การตอบกลับข้อความใน WebSocket Chat
#Frontend
#Backend
#Go
#โปรแกรมมิ่ง
#ฟีเจอร์ WebSocket
#การพัฒนาแอปพลิเคชันแชท
#การตอบกลับข้อความ
#WebSocket Chat
#WebSocket
ในบทความนี้เราจะพาคุณไปเรียนรู้วิธีการเพิ่มฟีเจอร์การตอบกลับข้อความใน WebSocket Chat ที่จะช่วยให้ผู้ใช้สามารถตอบกลับข้อความใด ๆ ที่ส่งไปแล้ว โดยที่ข้อความตอบกลับจะแสดงผลลัพธ์ที่เชื่อมโยงกับข้อความต้นฉบับในห้องแชทแบบเรียลไทม์
ขั้นตอนการเพิ่มฟีเจอร์การตอบกลับข้อความใน WebSocket Chat:
ทำไมต้องมีฟีเจอร์การตอบกลับข้อความใน WebSocket Chat?
- การตอบกลับข้อความช่วยเพิ่มความสะดวกในการสื่อสารภายในห้องแชท และทำให้การสนทนามีความเป็นระเบียบมากยิ่งขึ้น
- ผู้ใช้สามารถตอบกลับข้อความเดิมเพื่อให้บริบทการสนทนาเป็นที่เข้าใจมากขึ้น
การเพิ่มฟีเจอร์การตอบกลับใน WebSocket Server
- เราจะเพิ่มโค้ดใน WebSocket Server เพื่อรองรับการส่งข้อความที่มีการตอบกลับจากผู้ใช้
การเพิ่ม UI ปุ่มตอบกลับข้อความใน Frontend
- เราจะเพิ่มปุ่ม "Reply" ที่จะให้ผู้ใช้สามารถตอบกลับข้อความใด ๆ ได้ โดยที่ข้อความที่ตอบกลับจะแสดงว่าเป็นข้อความตอบจากผู้ใช้คนไหน
การทดสอบฟีเจอร์การตอบกลับข้อความ
- เราจะทดสอบฟีเจอร์นี้โดยการส่งข้อความในห้องแชท และคลิกปุ่มตอบกลับเพื่อดูผลลัพธ์ใน UI
ตัวอย่างโค้ดสำหรับการตอบกลับข้อความใน WebSocket Chat
การอัปเดตฐานข้อมูล (Database)
อัปเดตฐานข้อมูลเพื่อรองรับการตอบกลับข้อความ โดยการเพิ่มคอลัมน์ reply_to_message_id เพื่อเชื่อมโยงข้อความที่ตอบกลับกับข้อความต้นฉบับ
ALTER TABLE chat_messages ADD COLUMN reply_to_message_id INT REFERENCES chat_messages(id);
โค้ดใน WebSocket Server (Backend)
เพิ่มโค้ดใน WebSocket Server เพื่อรองรับการตอบกลับข้อความจากผู้ใช้ และแจ้งให้ลูกค้าทุกคนในห้องแชทรับรู้
package main

import (
    "database/sql"
    "encoding/json"
    "fmt"
    "net/http"
    "sync"

    "github.com/gorilla/websocket"
    _ "github.com/lib/pq"
)

type ReplyRequest struct {
    MessageID   int    `json:"messageID"`
    Sender      string `json:"sender"`
    NewContent  string `json:"newContent"`
    ReplyToID   int    `json:"replyToID"`
}

type ReplyResponse struct {
    MessageID   int    `json:"messageID"`
    NewContent  string `json:"newContent"`
    Sender      string `json:"sender"`
    ReplyToID   int    `json:"replyToID"`
}

var (
    clients   = make(map[*websocket.Conn]bool)
    broadcast = make(chan ReplyResponse)
    mu        sync.Mutex
    db        *sql.DB
)

func handleReplyMessage(w http.ResponseWriter, r *http.Request) {
    conn, _ := upgrader.Upgrade(w, r, nil)
    defer conn.Close()
    clients[conn] = true

    for {
        var request ReplyRequest
        err := conn.ReadJSON(&request)
        if err != nil {
            delete(clients, conn)
            break
        }

        // เพิ่มข้อความตอบกลับลงฐานข้อมูล
        _, err = db.Exec("INSERT INTO chat_messages (content, sender, reply_to_message_id) VALUES ($1, $2, $3)", request.NewContent, request.Sender, request.ReplyToID)
        if err == nil {
            broadcast <- ReplyResponse{MessageID: request.MessageID, NewContent: request.NewContent, Sender: request.Sender, ReplyToID: request.ReplyToID}
        }
    }
}

func notifyClients() {
    for {
        msg := <-broadcast
        for client := range clients {
            err := client.WriteJSON(msg)
            if err != nil {
                client.Close()
                delete(clients, client)
            }
        }
    }
}

func main() {
    http.HandleFunc("/ws", handleReplyMessage)
    go notifyClients()
    fmt.Println("WebSocket Server Running on Port 8080")
    http.ListenAndServe(":8080", nil)
}
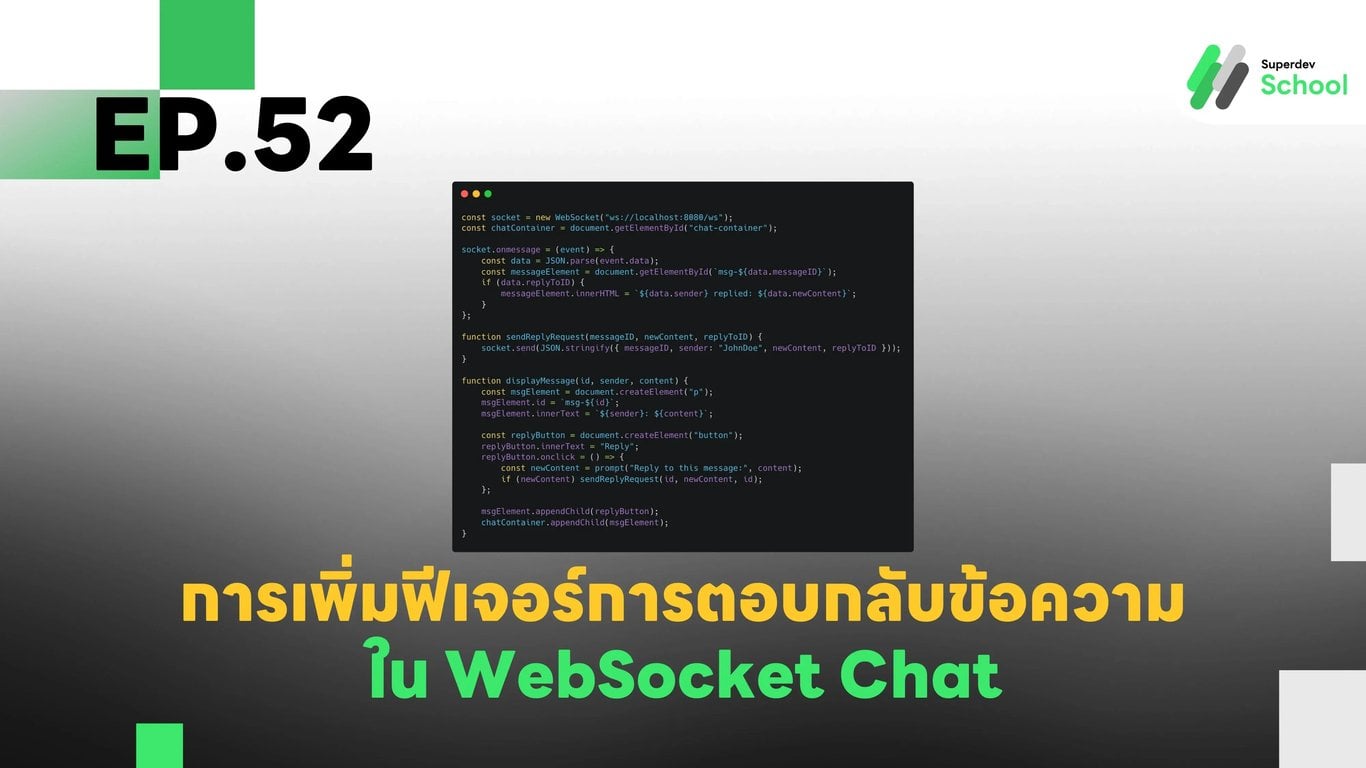
โค้ดใน Frontend (Client)
เพิ่มปุ่ม "Reply" เพื่อให้ผู้ใช้สามารถตอบกลับข้อความได้
const socket = new WebSocket("ws://localhost:8080/ws");
const chatContainer = document.getElementById("chat-container");

socket.onmessage = (event) => {
    const data = JSON.parse(event.data);
    const messageElement = document.getElementById(`msg-${data.messageID}`);
    if (data.replyToID) {
        messageElement.innerHTML = `${data.sender} replied: ${data.newContent}`;
    }
};

function sendReplyRequest(messageID, newContent, replyToID) {
    socket.send(JSON.stringify({ messageID, sender: "JohnDoe", newContent, replyToID }));
}

function displayMessage(id, sender, content) {
    const msgElement = document.createElement("p");
    msgElement.id = `msg-${id}`;
    msgElement.innerText = `${sender}: ${content}`;

    const replyButton = document.createElement("button");
    replyButton.innerText = "Reply";
    replyButton.onclick = () => {
        const newContent = prompt("Reply to this message:", content);
        if (newContent) sendReplyRequest(id, newContent, id);
    };

    msgElement.appendChild(replyButton);
    chatContainer.appendChild(msgElement);
}
ท้าให้ลอง!
ลองเพิ่มฟีเจอร์ การตอบกลับหลายข้อความพร้อมกัน (Multiple Replies) เพื่อให้ผู้ใช้สามารถตอบกลับหลายข้อความในห้องแชทได้ในครั้งเดียว!
EP ถัดไป:
ใน EP ถัดไป เราจะมาดู การเพิ่มฟีเจอร์การติดตามข้อความที่ถูกตอบกลับ (Follow-up on Replies) เพื่อให้ผู้ใช้สามารถติดตามคำตอบของข้อความที่ตอบกลับได้อย่างสะดวกมากยิ่งขึ้น!